
Before anyone starts snapping planks together or mixing mortar, there’s a step that’s easy to overlook—mostly because you don’t really see it once the floor’s down. The subfloor. It’s the part no one brags about, and yet, it’s doing all the hard work long after the room looks finished.
If that layer underneath isn’t ready, things can get messy fast. Boards might shift. Or worse, you end up ripping the whole thing out in a few months because it just didn’t hold up. No one wants that. So the work here—cleaning it up, checking it, fixing it—it might feel like overkill now, but you’ll thank yourself later. This part? It’s the difference between a floor that lasts and one that lets you down.
Look for Signs of Damage or Decay
Once it’s bare, now the real detective work starts. Walk the surface slowly. Pause here and there. Use your feet more than your eyes—you’ll feel soft spots before you see them. If anything feels spongy or bouncy underfoot, there’s a problem.
You might notice stains—dark patches, especially in corners. They’re usually from past leaks. Or maybe there’s that damp, slightly moldy smell. It doesn’t have to be strong to be a red flag.
Look out for:
- Boards that creak or shift
- Cracks or deep gaps
- Warping or cupping
- Signs of bugs (not common, but it happens)
Any rot or mold? That’s not something to patch over. Pull out what’s damaged and replace it properly. It’s a pain, sure, but skipping that step means everything else sits on a weak spot. And weak spots don’t stay small for long.
Level It Out, Smooth It Down
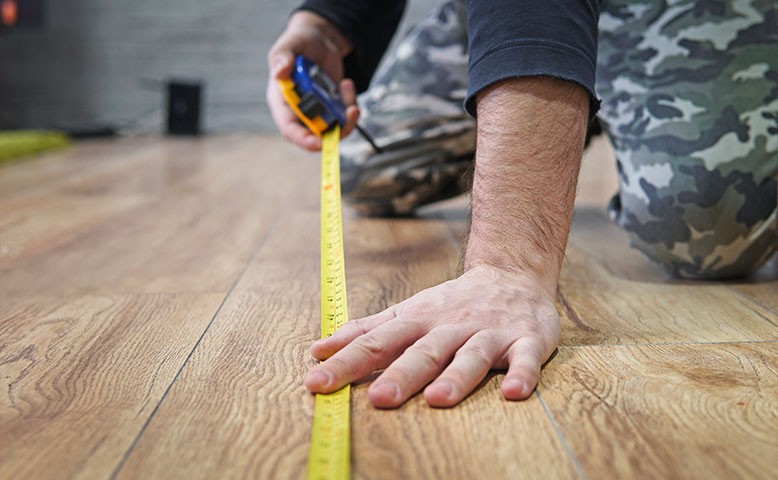
Now, assuming the subfloor is solid, you’ve got to check if it’s even. And not just kind of even. You want flat, straight, and steady. Grab a 4- or 6-foot level (a longer one if you have it). Lay it in different directions across the room and see where the gaps show up.
High spots? Sand them down. Low spots? Use floor leveling compound. It’s kind of like pancake batter—pour it in, spread it around, let it dry. Just make sure it’s fully cured before walking on it or doing anything else.
This part? It gets skipped more than it should. But uneven subfloors mess up everything: floating floors shift, tile cracks, and hardwood creaks. That extra hour or two smoothing things out is nothing compared to redoing half a room later.
Reinforce Any Loose Panels or Boards
Even if the subfloor looks fine, listen to it. Seriously—walk across slowly. Any creaks? Any spots where a board dips a bit? That’s your cue.
Grab a drill and some screws (not nails). Nails tend to loosen over time. Screws pull tighter. If you’re working on a plywood base, screw into the joists beneath. Don’t just wing it—try to find where those supports run and hit them directly.
This is one of those steps that feels like overkill… until you move in a couch or start walking barefoot and realize the floor talks back. Fix it now. Silence is golden, especially underfoot.
Mind the Moisture Before You Move On
Moisture is sneaky. It doesn’t always show itself with puddles or stains. Sometimes, it’s just hiding in the air—or trapped in the wood. And if it’s there when you install a floor over it, you’re asking for warping, swelling, and all kinds of headaches later on.
Use a moisture meter if you have one. If not, at least take a good look and feel. Are the boards cool or damp to the touch? Is the space humid? If you’re working in a basement, kitchen, or bathroom, just assume moisture’s a factor.
If things feel damp, wait. Run a fan. Use a dehumidifier. Let the subfloor dry completely. In some cases, especially with laminate or engineered wood, you’ll want to lay a vapor barrier. It’s not fancy—it’s a plastic sheet that blocks moisture. And it works.
Double-Check Everything Before You Start Installing
Last step before the actual install begins. Go back through the room. Slowly. It sounds silly, but walk around one more time. Run your hand across the floor. You’re feeling for anything sharp, loose, damp, or uneven.
If anything doesn’t feel right—fix it now. Seriously. This is your last chance. Once the floor’s down, whatever’s underneath is trapped for good. You don’t want to be the person who says “I should’ve…” the moment that first squeak hits. Think of this part like tying your shoes before a run. It takes a few extra seconds, but it makes the entire job go smoother.
Conclusion
No one walks into a room and compliments the subfloor. But if it’s done right, they’ll feel the difference without even knowing why. Skipping prep never saves time in the long run. Not really. It just moves the problems down the road where they’re harder—and more expensive—to fix—but putting in the work now? It gives your floors the best shot at lasting.
So, if you’re about to install new flooring by hiring WC Tile & Stone, don’t rush past this part. Take a breath. Slow down. Make sure what’s underneath is strong, smooth, and ready. Because once the boards go down, this part’s locked in—and you’ll want it to hold steady for years to come.